
Chazie Baniquid
Technical Content Marketer
12 minutes to read
Using OOPSpam to Filter Spam Submissions in Airtable Forms via Zapier
Spam submissions can be a real headache. Whether you’re collecting leads, feedback, or registrations, they can quickly clutter your Airtable forms, waste your time, and make it harder to focus on what matters. Wouldn’t it be great if you could handle them automatically?
With OOPSpam and Zapier, you can. This easy-to-set-up system filters out spam for you, leaving your Airtable forms clean and ready for real, useful submissions. In this guide, we’ll walk you through how to set it up step by step, so you can save time and focus on what’s truly important.
Why Airtable Forms Need Spam Prevention
Airtable forms are a popular choice for collecting and organizing data because of their intuitive design and easy customization. However, like all online forms, they are prone to spam submissions. Here’s why preventing spam is critical:
- Protecting Data Integrity: Spam submissions distort your data, making it difficult to extract meaningful insights or analytics.
- Saving Time: Manually sifting through spam submissions is tedious and takes focus away from other important tasks.
- Enhancing Productivity: Automated workflows ensure that only valid submissions are processed, helping you focus on legitimate leads.
Integrating OOPSpam into your Airtable form workflow via Zapier offers a seamless and efficient way to eliminate spam, allowing you to concentrate on what truly matters.
Key Features of Airtable, OOPSpam, and Zapier
Before we get into the setup process, let’s briefly highlight the role of each tool:
- Airtable: A versatile database that allows you to collect and organize form submissions with customizable fields and views.
- OOPSpam: A machine learning spam detection tool that analyzes submissions based on multiple factors, including message content, email validity, and spam trends.
- Zapier: An automation platform that connects Airtable and OOPSpam, enabling real-time spam detection and response workflows.
Using Zapier’s Copilot for an Easy Start
Zapier has introduced a new feature called Copilot, which simplifies setting up workflows. With Copilot, you can describe your workflow in natural language, and it will create the foundational steps for you.
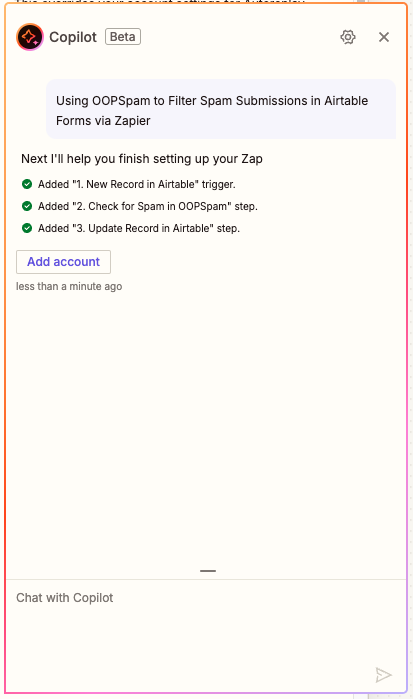
For example, I just copy-pasted the title of this article into Copilot, and it instantly created a Zap with the following steps:
- New Record in Airtable (trigger)
- Check for Spam in OOPSpam (action)
- Update Record in Airtable (action)
Step 1: Setting Up Your Airtable Base and Form
Create a New Airtable Base
Airtable is the foundation of this workflow. To get started:
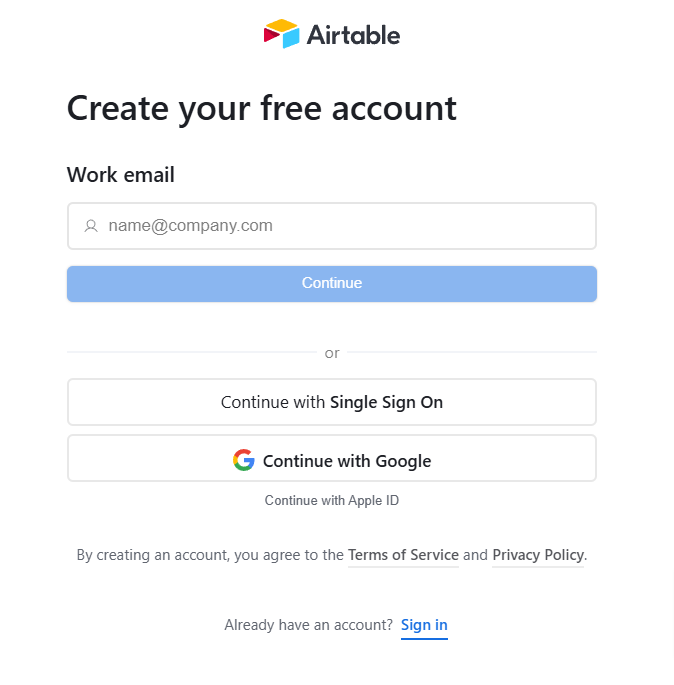
1. Log into Airtable: If you don’t have an account, create one at Airtable.
2. Create a New Base: Name it something like “Spam Filtered Submissions.”
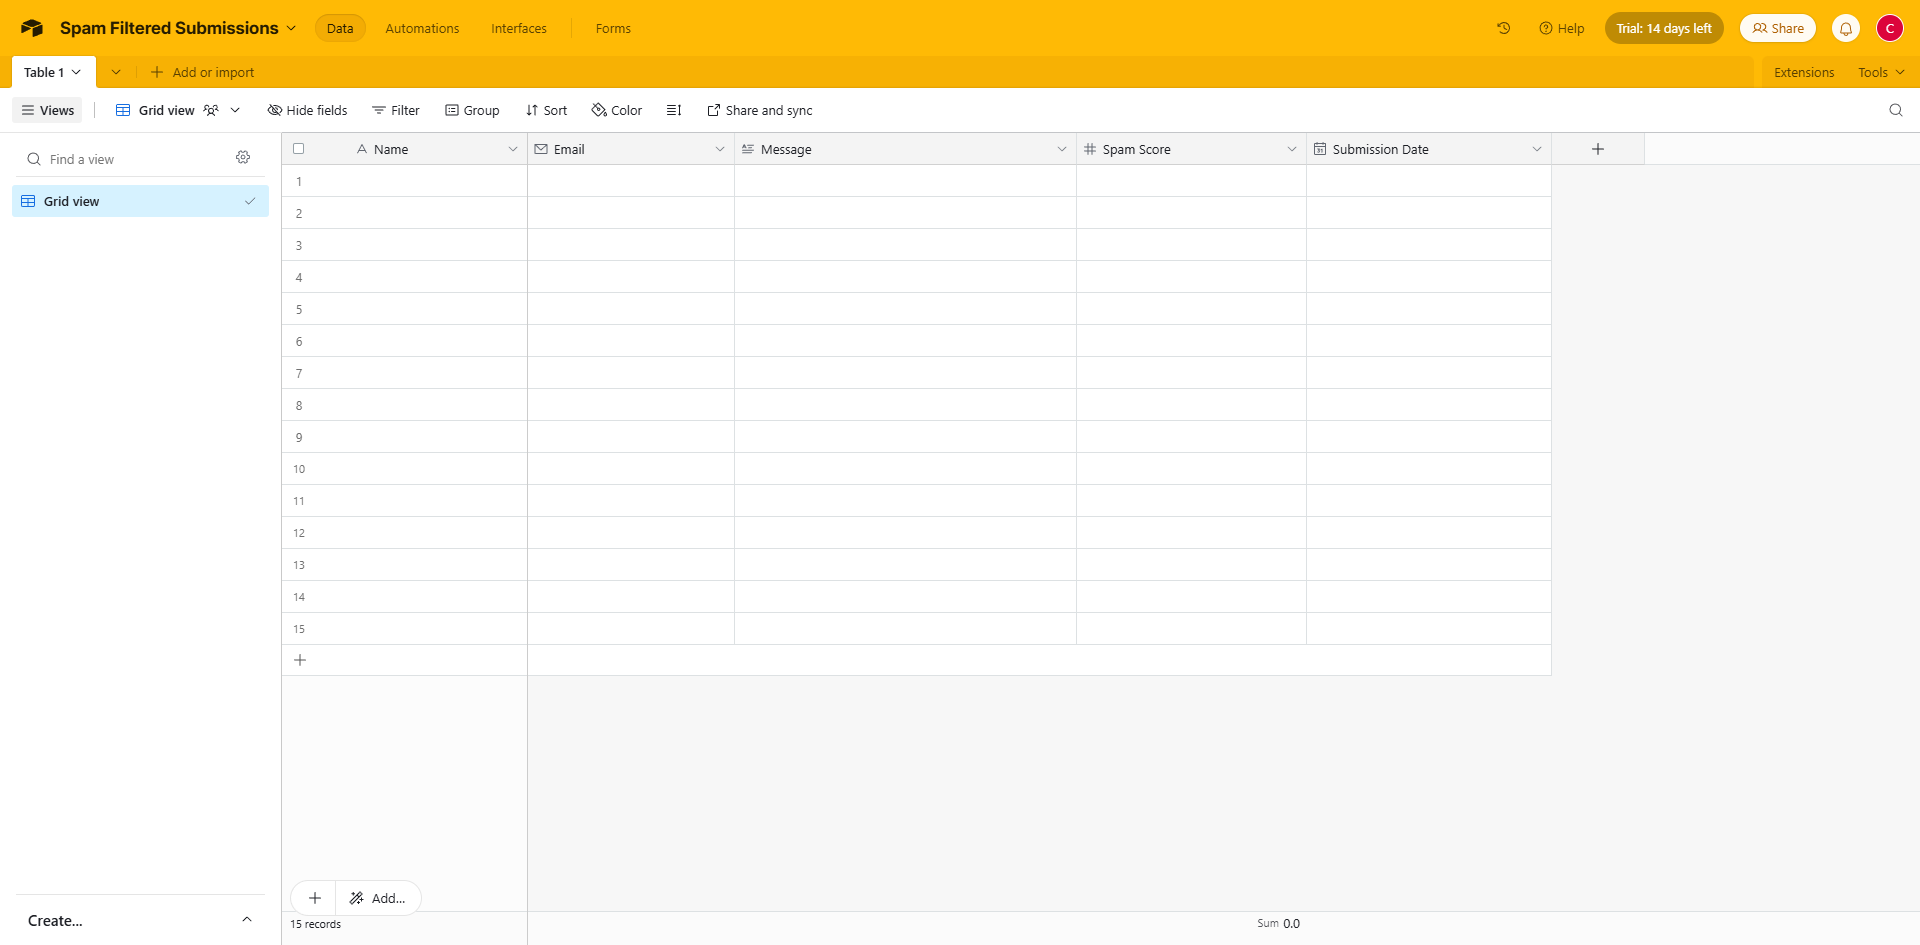
3. Add Relevant Fields:
- Name: Single-line text
- Email: Email field
- Message: Long text
- Spam Score: Number field
- Submission Date: Date field (set to auto-populate)
Create and Customize a Form View
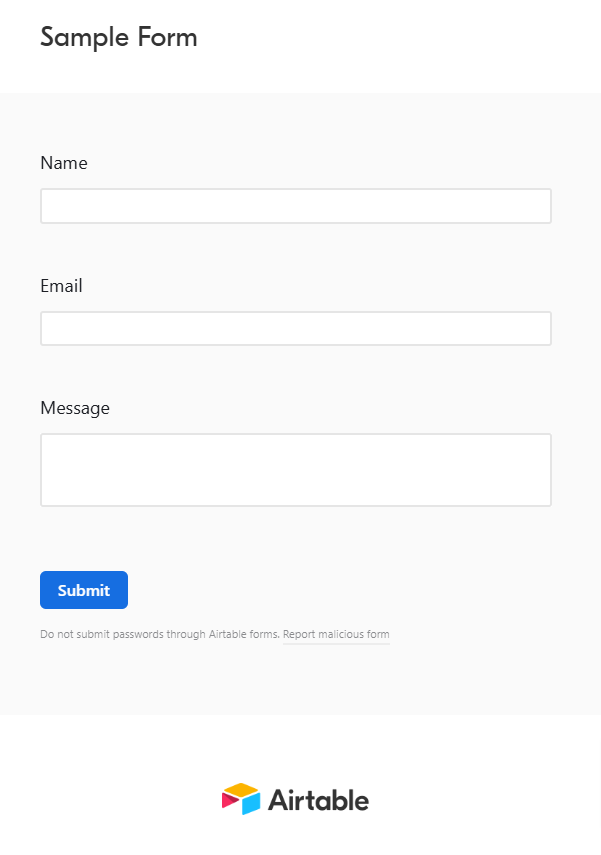
- Switch to Form View: In your Airtable table, click on Form to create a shareable form view.
- Add Necessary Fields: Include fields like Name, Email, and Message to capture essential data.
- Enable Public Sharing: Share the form link with your audience or embed it on your website.
Step 2: Preparing Zapier and OOPSpam for Integration
Set Up Zapier
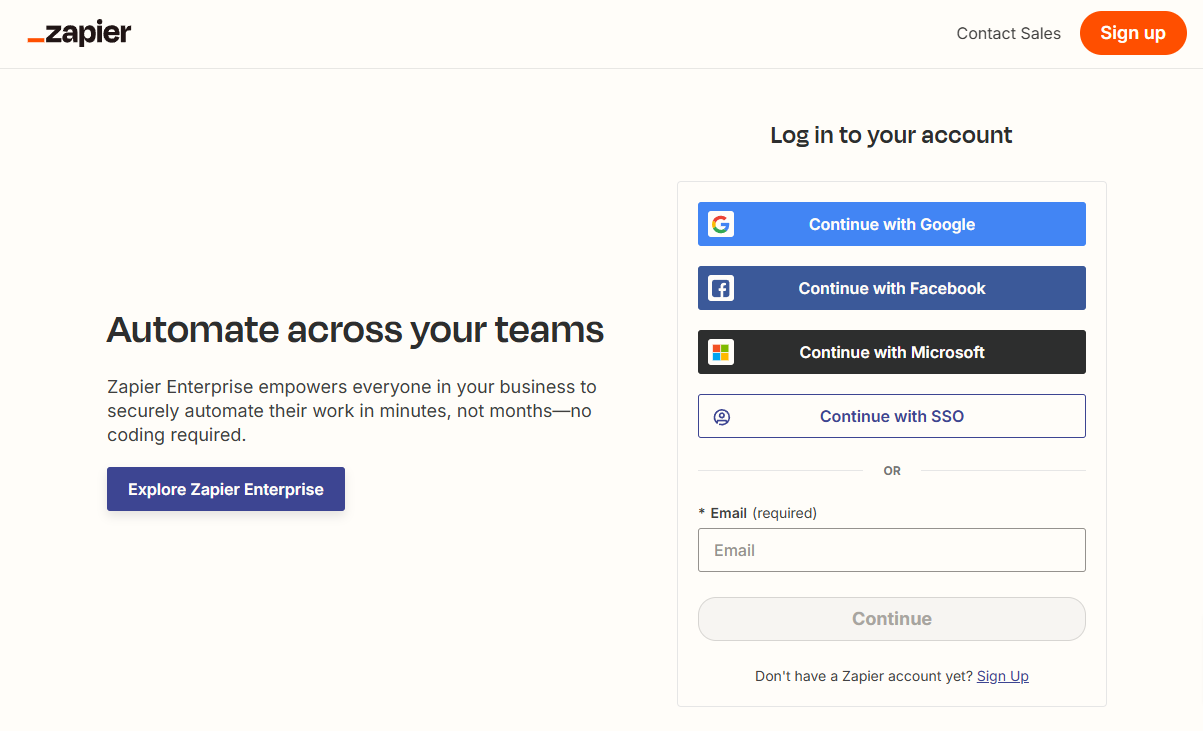
Zapier acts as the bridge between Airtable and OOPSpam. Here’s how to prepare:
- Sign Up for Zapier: Create a free account at Zapier.
- Familiarize Yourself with Zaps: A “Zap” is an automated workflow that connects two or more apps.
Set Up OOPSpam
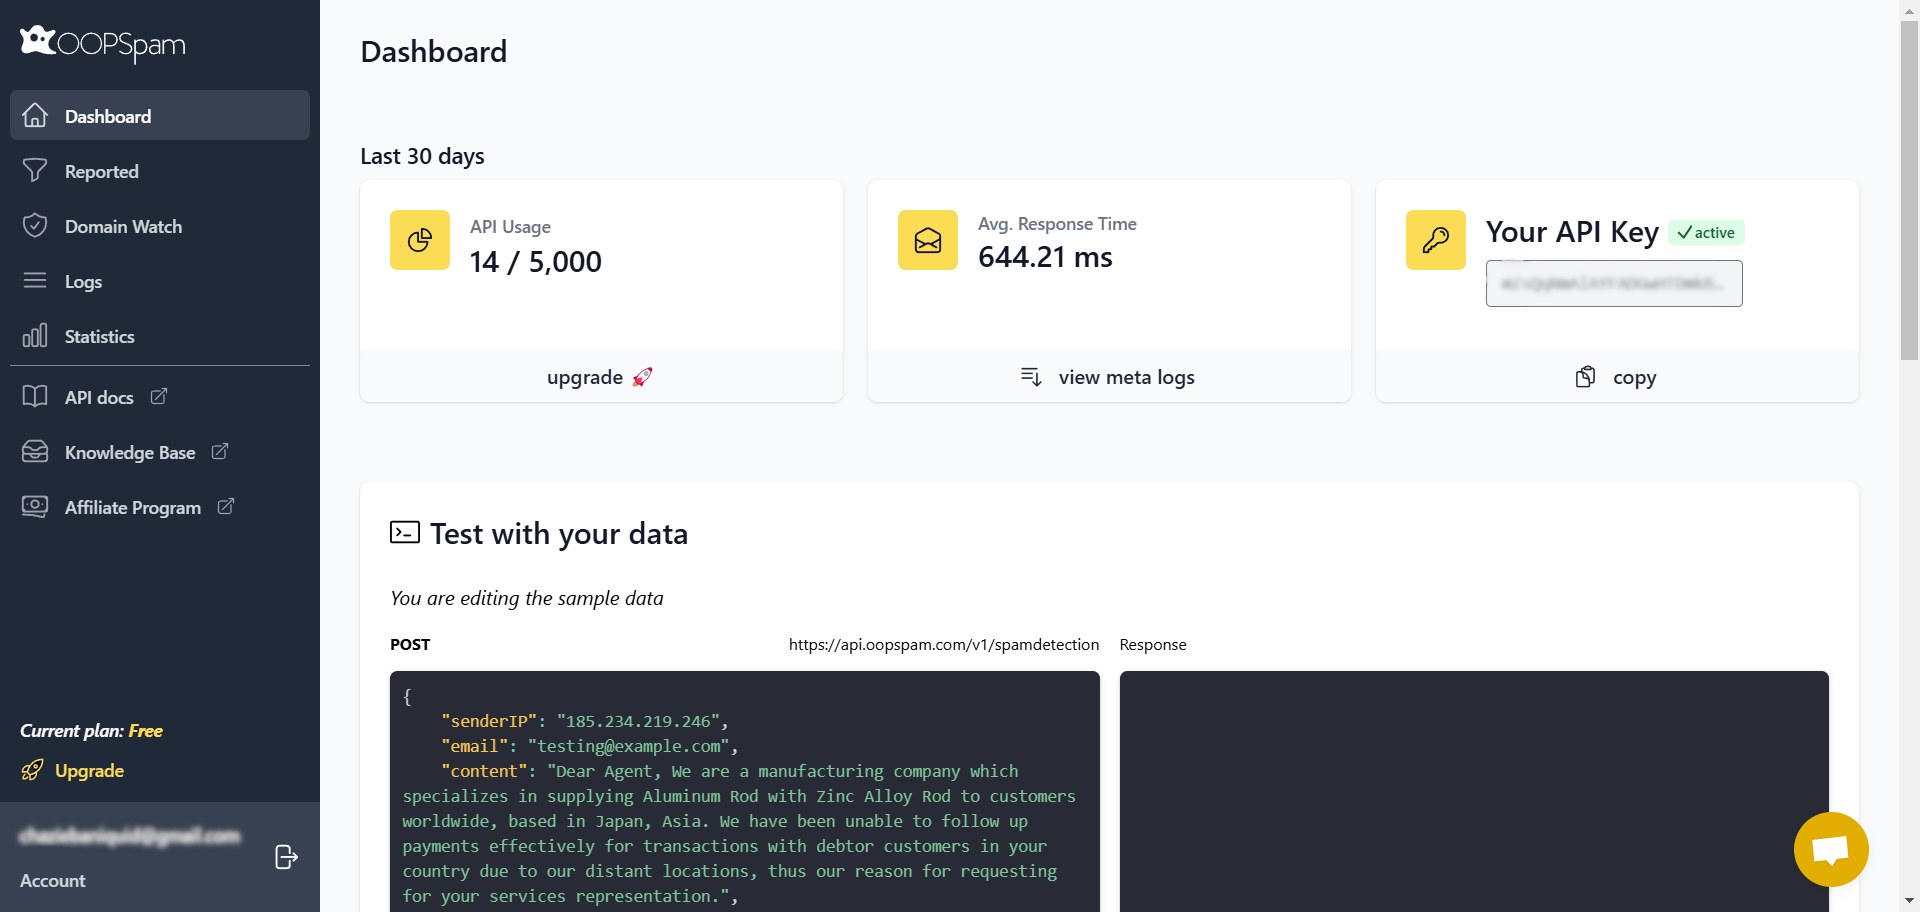
OOPSpam’s robust spam-detection capabilities ensure accurate results.
- Sign Up for OOPSpam: Visit OOPSpam and create an account.
- Retrieve Your API Key: Log into your dashboard and copy your unique API Key. This will be used to connect OOPSpam to Zapier.
Step 3: Building the Workflow in Zapier
Add Airtable as the Trigger
1. Create a New Zap
- Log into Zapier and click “Create Zap.”
- Name your Zap (e.g., “Filter Airtable Spam”).
2. Select Airtable as the Trigger App: Choose Airtable and select the event “New Record”.
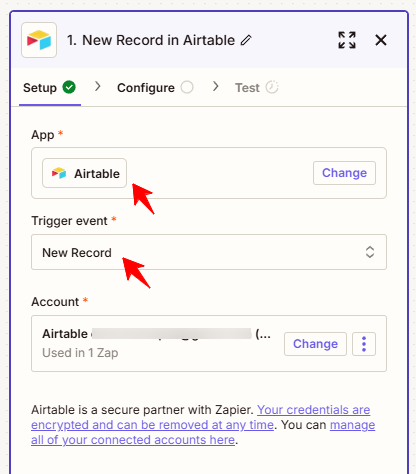
3. Connect Your Airtable Account: Provide access to Zapier and select the base and table where your form submissions are stored.
4. Configuring the Airtable Trigger:
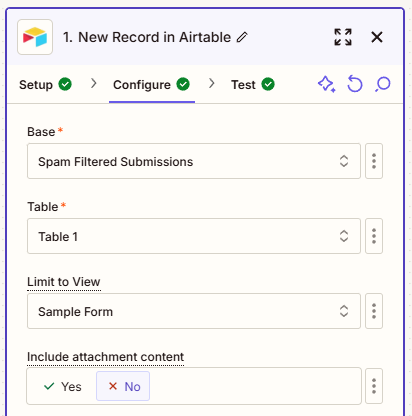
- Once connected, select the Base (e.g., “Spam Filtered Submissions”) from the dropdown.
- For the Table, choose the table where your form submissions are stored (e.g., “Table 1”).
- Under Limit to View, select the view you want Zapier to monitor (e.g., “Grid view”). If you only have one view, this will be the default.
- Leave the Include Attachment Content option as “Yes” if your form includes file uploads, ensuring attachments are processed in the trigger.
5. Test the Trigger: Submit a sample form entry and confirm that Zapier retrieves the data correctly.
Add OOPSpam to Analyze Submissions
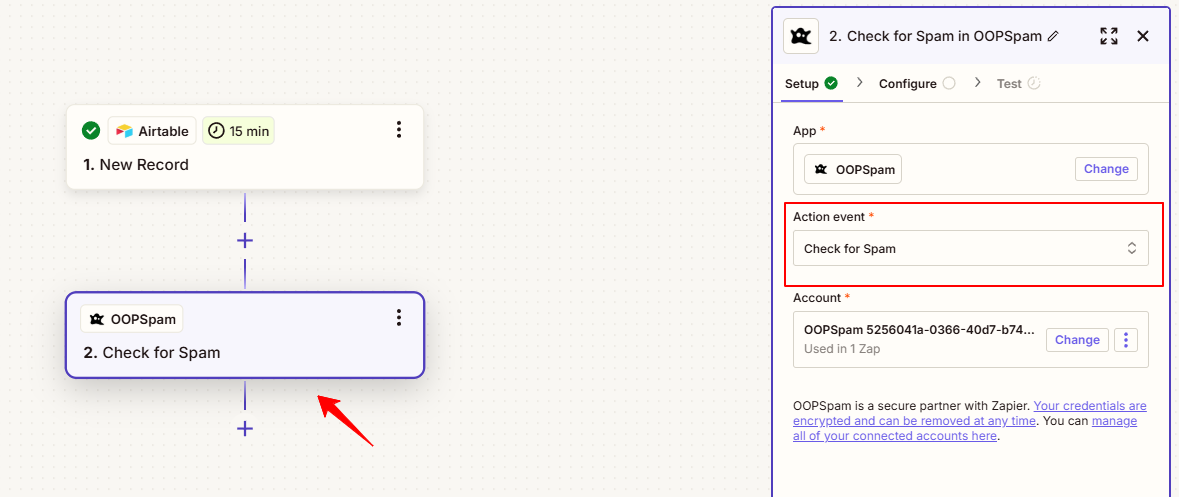
1. Add OOPSpam as the Action
- Click the “+” button in your Zap and search for OOPSpam.
- Select the action event “Check for Spam”.
2. Connect OOPSpam
- Enter your API Key to authenticate the connection.
3. Map Airtable Fields to OOPSpam
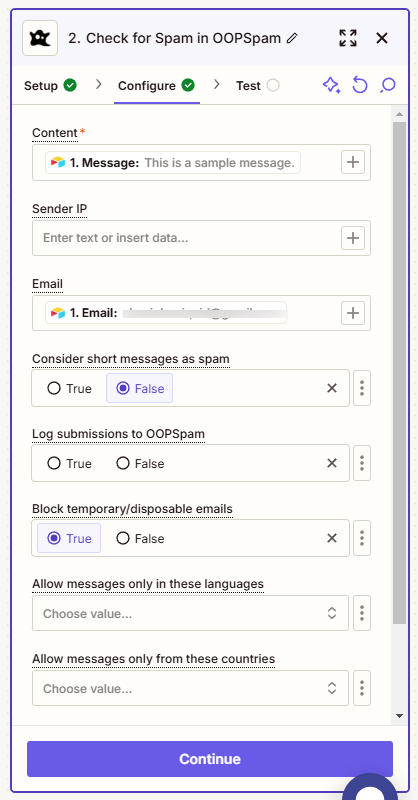
Map the data fields from your Airtable trigger to OOPSpam’s input fields:
- Content: Map the “Message” field from Airtable. This is the text you want to check for spam (e.g., customer messages or form responses).
- Sender IP: Leave this field empty, as Airtable forms do not collect IP addresses.
- Email: Map the “Email” field from Airtable. This will help OOPSpam verify if the email is valid and not disposable.
4. Configure Spam Detection Settings
Fine-tune OOPSpam’s settings to customize how spam is detected:
- Consider Short Messages as Spam: Set to False, unless you expect your message field to contain a sentence with at least 20 characters. This ensures short but legitimate responses are not flagged as spam unnecessarily.
- Log Submissions to OOPSpam: Set to False, unless you want to store all submissions for further analysis in your OOPSpam dashboard.
- Block Temporary/Disposable Emails: Set to True to filter out submissions from temporary or fake email addresses.
Handle Submissions with Spam Scores in Airtable
After setting up the OOPSpam action, the next step is to ensure that every submission is updated in Airtable with its corresponding spam score. This allows you to review and filter submissions directly within Airtable, leveraging its intuitive filtering and sorting tools.
Update Airtable with Spam Scores
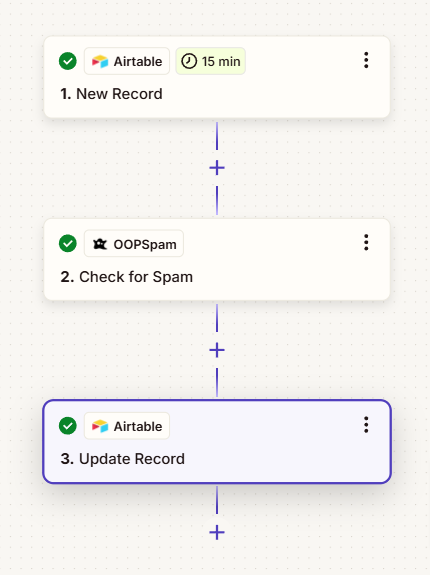
- Add Airtable as the Action App: Select Airtable and choose “Update Record.”
-
Map OOPSpam Results to Airtable: Map the spam score from OOPSpam back to the “Spam Score” field in Airtable.
- Spam Score Guide:
- 1-2: Not spam
- 3-6: Spam
- Test the Update: Submit a sample form entry and verify that Airtable is updated with the correct spam score and other relevant details.
Leverage Airtable for Spam Management
Once the spam score is stored in Airtable, you can take advantage of its features to organize and manage your submissions:
- Filter Submissions by Spam Score: Use Airtable’s filtering feature to view only submissions with a spam score below your preferred threshold (e.g., less than 3).
- Sort Entries by Spam Score: Quickly identify and review high-score entries that may need further inspection.
- Tag Submissions: Add custom fields or tags to categorize submissions as “Spam” or “Legitimate.”
📌 Here’s an example of how your Airtable table might look after implementing this setup:

Why This Approach Works?
- Complete Transparency: By recording all submissions, you retain the flexibility to review both legitimate and flagged entries.
- Customizable Workflow: Airtable allows you to create personalized views and apply filters as needed, rather than relying on pre-filtering in Zapier.
- Effortless Management: Keep all data in one place, simplifying the review process and enabling better data integrity.
With this setup, Airtable becomes your central hub for submission management, helping you focus on meaningful insights without worrying about spam clutter.
📌 Optional: Send Notifications for Legitimate Submissions
-
Use Gmail, Outlook or Zapier’s Email app to notify your team of valid submissions.
- Set Conditions for Notifications: Only send emails for submissions with a spam score below your threshold.
- Customize the Email Template: Include fields like Name, Email, and Message to provide context.
Step 4: Testing and Fine-Tuning
Test the Entire Workflow
- Submit both legitimate and spammy entries through your Airtable form.
-
Check Zapier logs to confirm:
- Spam submissions are flagged and blocked.
- Legitimate submissions pass through and update Airtable.
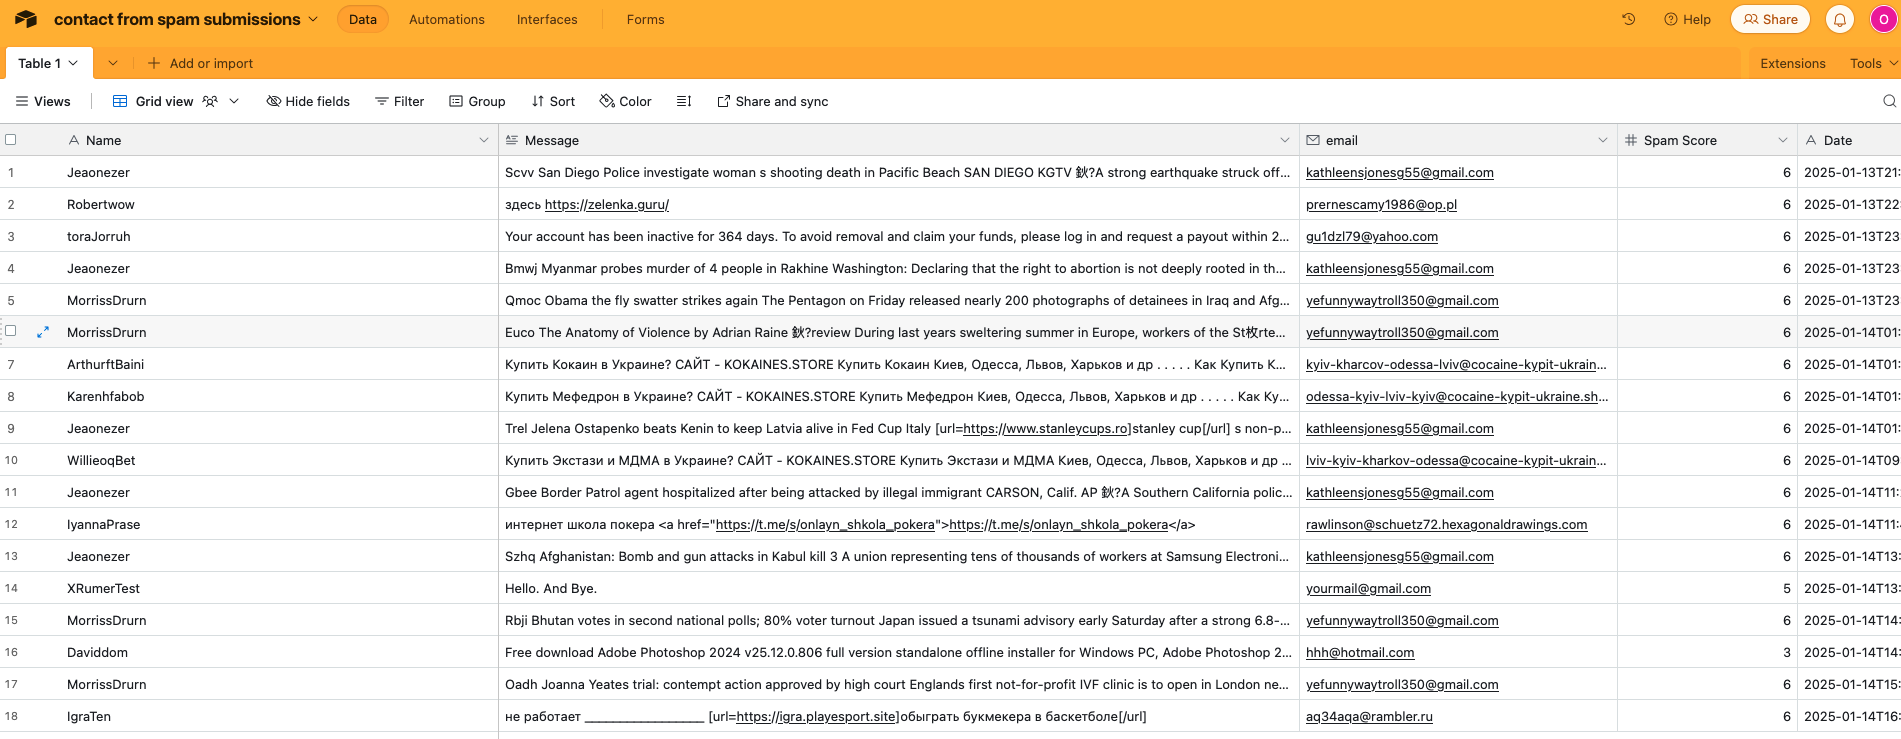
This screenshot shows spam entries collected from form submissions. All these entries are identified as spam and are stored in Airtable for review. This setup helps you filter out junk submissions while still being able to analyze spam patterns later if needed. Use this as a reference for how your Airtable table might look after implementing this workflow.
Adjust Settings as Needed
- Experiment with the spam score threshold to balance sensitivity and accuracy.
- Review flagged submissions in Airtable to identify patterns and refine your filters.
Step 5: Publish and Monitor
- Monitor Airtable Logs: Regularly review the “Spam Score” field to identify false positives or negatives.
- Optimize Workflow: Add additional steps, such as auto-tagging submissions or archiving spam entries for later review.
- Scale as Needed: Integrate other apps like Google Sheets to store backups or analytics platforms for insights.
Final Thoughts
Managing spam submissions doesn’t have to be a time-consuming hassle. With Airtable, OOPSpam, and Zapier working together, you can create a robust workflow that keeps your data clean, saves you time, and boosts your productivity. Whether you’re collecting leads, running surveys, or processing registrations, this integration ensures you’re only dealing with genuine submissions.
If you have any questions or need extra guidance, OOPSpam’s support team is always here to help, and you can explore our documentation for detailed instructions. Let us know how we can make your spam-fighting journey even easier!